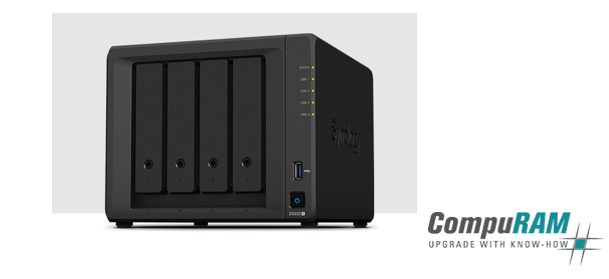
RAM modules are not accepted in your NAS during installation? Here are tips on how to perform a successful RAM upgrade in Synology systems in just a few steps.
General advice if your Synology NAS does not boot immediately after a storage upgrade
- Experience shows that it can take 10-15 minutes (depending on the capacity of the installed RAM) until the system restarts due to memory checks by the system. This start-up delay occurs once and the power LED flashes during this time. It makes sense to wait at least this long before taking further steps.
- Installing and removing the module several times can also be helpful.
- A BIOS /DSM update can help. Check which version is on the system and update to the latest version if necessary.
- The following workaround may lead to success:
RAM upgrade with a 16GB CompuRAM memory module using the Synology DS220+, DS420+, DS720+, DS920+, DS1520+ series as an example (DSM DSM 7.0.1-42218 Update 2)
- Be sure to write back the SSD cache
- Then remove SSD m2.cache
- Make HDD/SSD RAID or system diskless
- Insert RAM in System
- Switch on Test run
- Wait approx. 5 minutes until you hear the beep “RAM accepted”
- Then rebuild the system
- Initialise SSD cache
Done!
Synology has apparently modified its hardware revision (and or BIOS, DSM, DSM 7.0.1-42218 Update 2) without informing us.
We would like to thank our customer for successfully performing the workaround and providing the information for you.


